
Apple Anatomy
In this activity, we are going to use our sense of sight and touch to help us observe, identify, and classify the different parts of an apple.
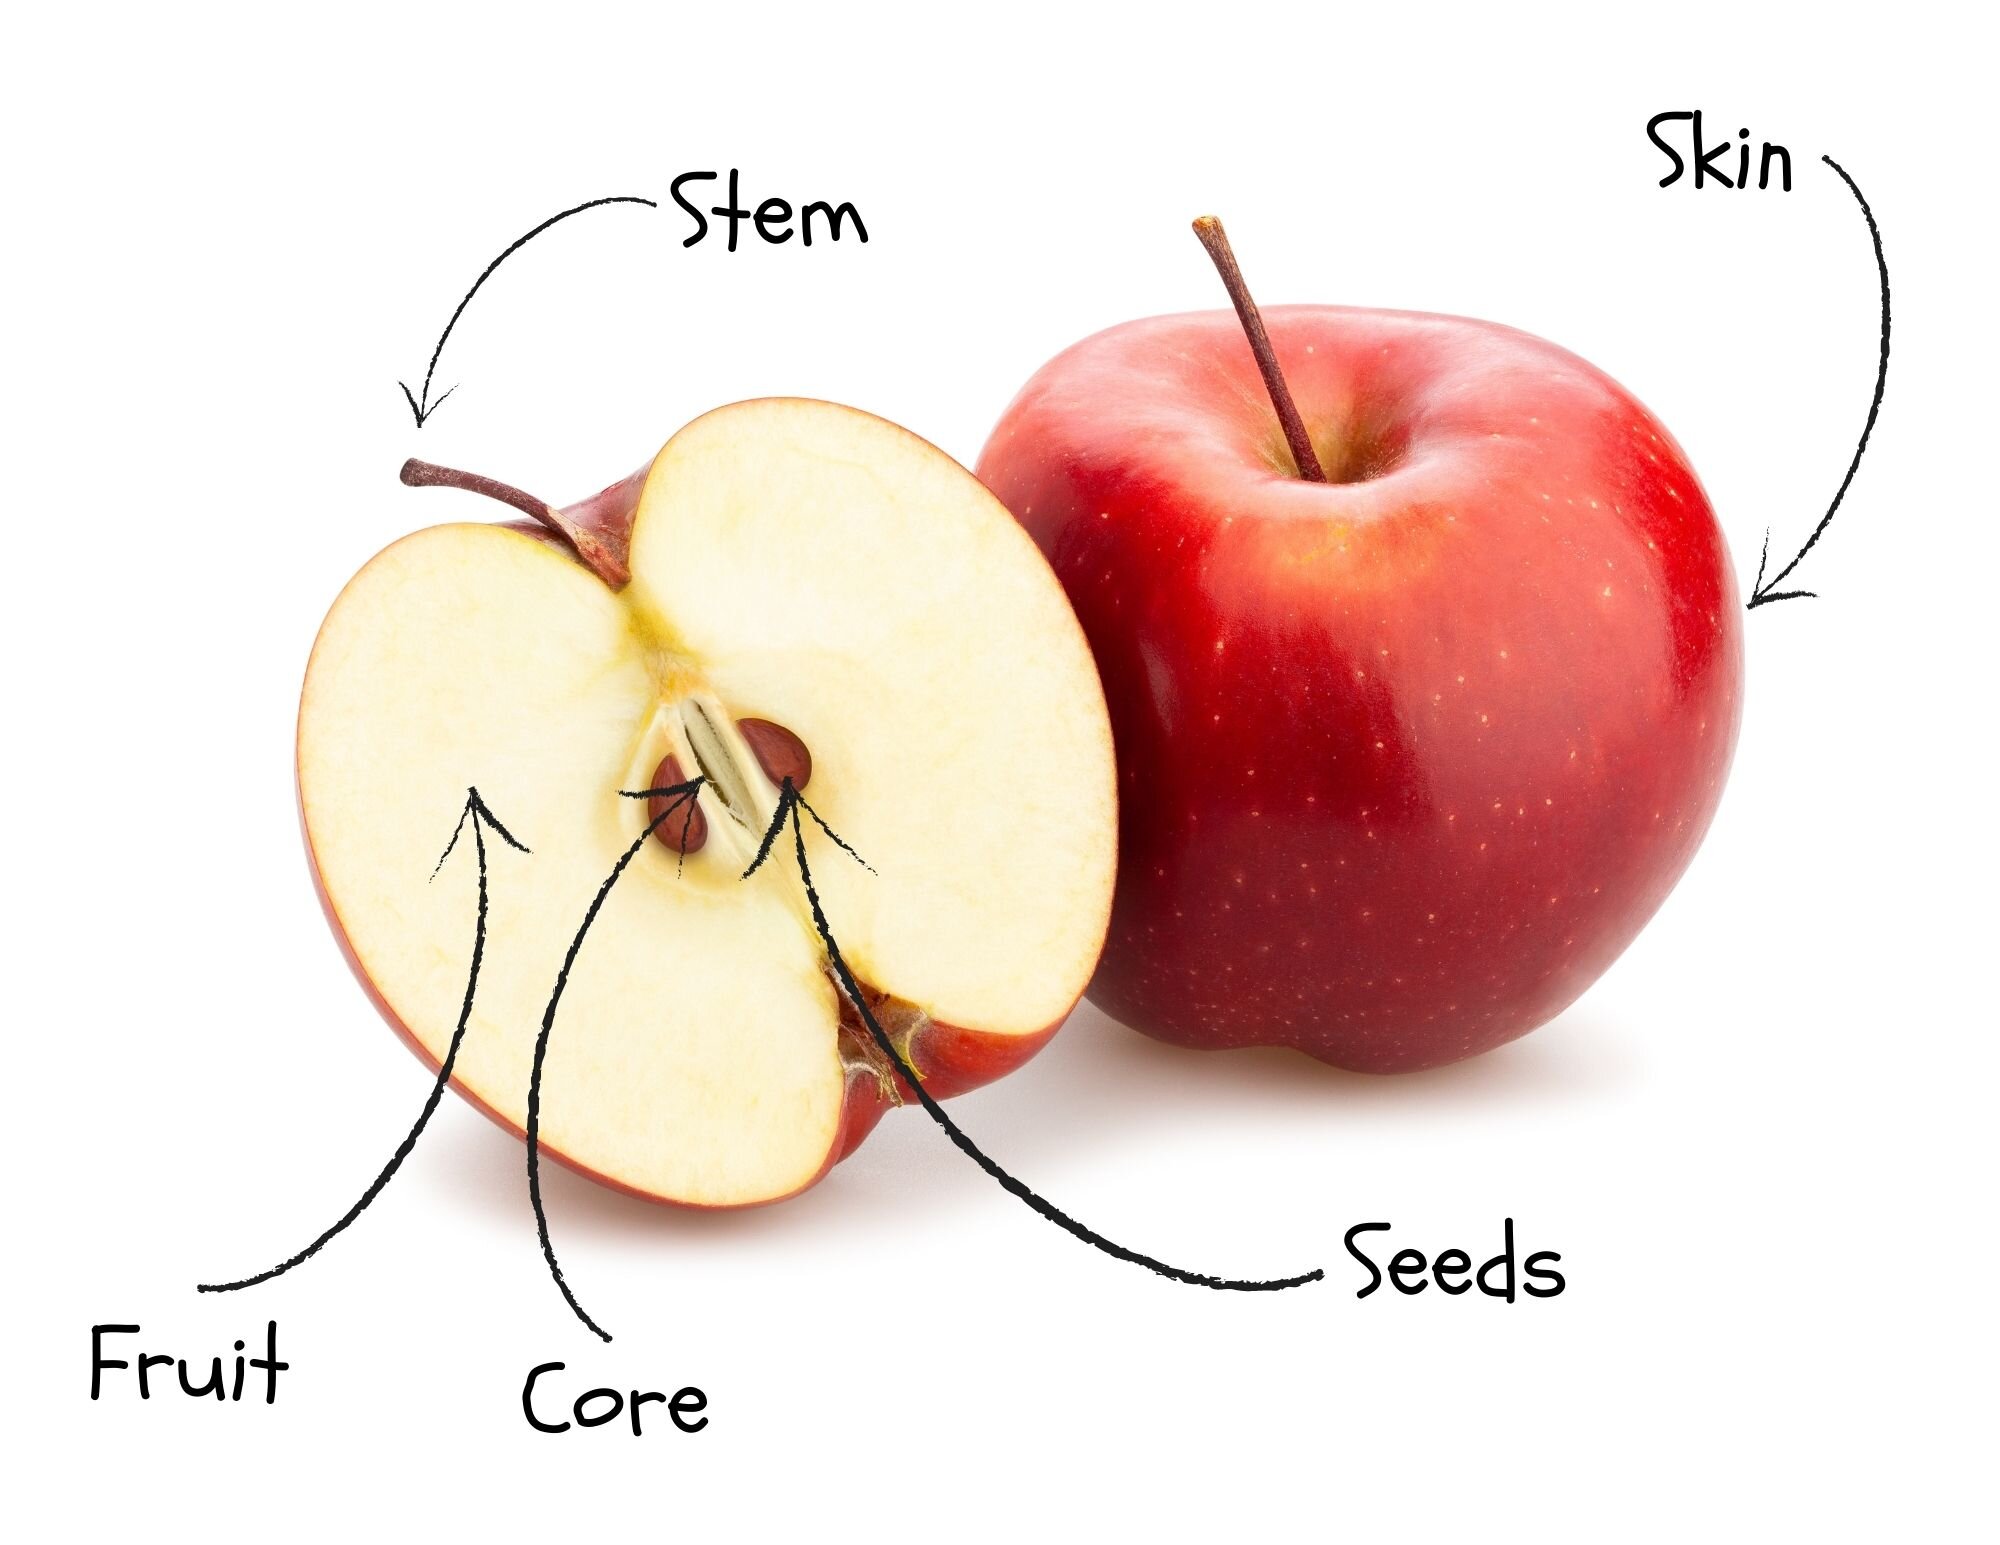
Every apple has 5 basic parts:
Skin- this part is the thin layer on the outside of the apple
Stem- this is the part of the apple that connects to the tree
Fruit- this is the sweet part of the apple that has all the nutrients
Core- this is the center of the apple that holds the seeds
Seeds - these are the small, hard objects in the middle of the apple. The seed is what makes a new apple tree!
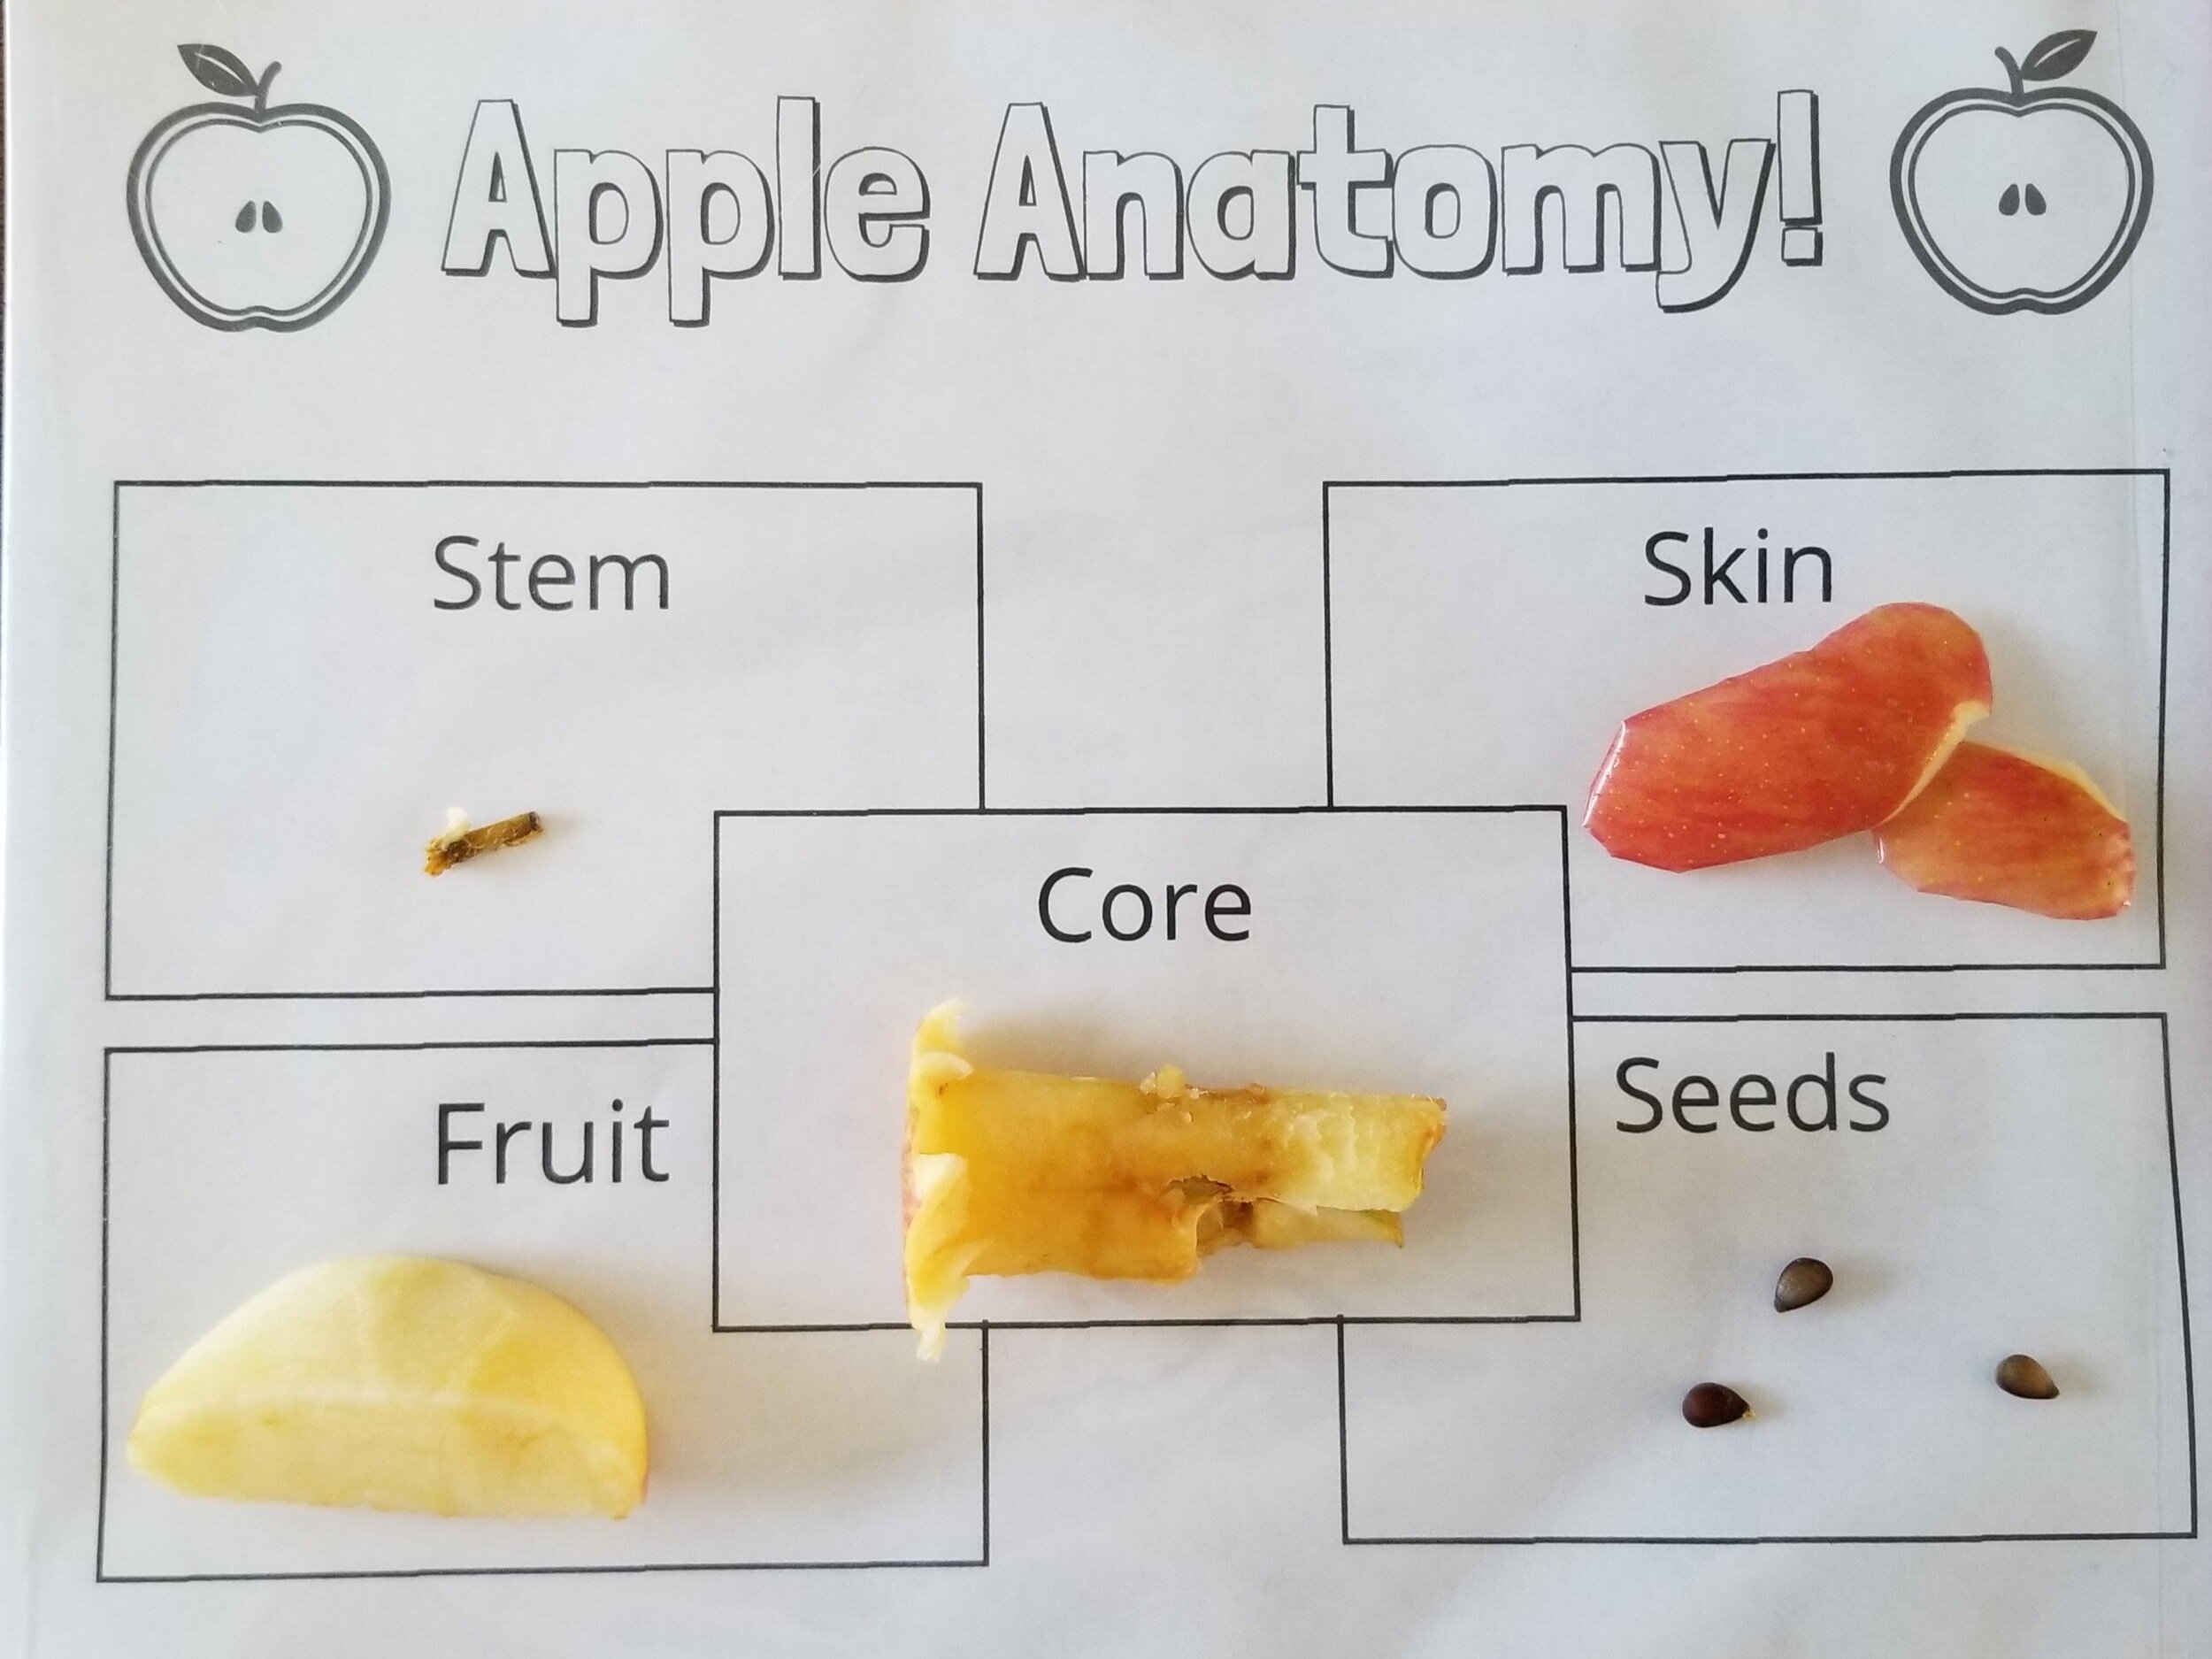
Using the Apple Anatomy worksheet, we are going to sort the pieces of an apple into the appropriate categories.
Learning Objectives/Opportunities
Build basic knowledge about apples
Science process skills: observing, identifying and classifying
Developmental Skills: sensory skills, executive function, gross and fine motor skills
Let’s Begin!
Materials
Bag of apples
Peeler
Knife or Apple Corer
Activity Set-up
Print out the Apple Anatomy Worksheet below
Place the page in a plastic baggie or laminate
Depending on your age group or classroom, you may want to peel and cut your apples before starting the activity. While having students observe the process of deconstruction can be informative, it is not essential to this activity.
We recommend using an apple corer for ease of process and core extraction, however, you can also cut apples manually with a knife. Be sure to keep the core.
Gentle Disclaimer: Science tools are objects that help you complete an experiment or activity. In this experiment, a knife is a science tool because it helps us dissect the apples. Science tools can be dangerous, so be careful, and only use with your adult safety partner
Directions:
Give each child or student group a cut-up apple and a worksheet.
Explain the 5 components of an apple and how to identify each part. Be sure to include visual as well as tactile clues.
For example, what color is this component? Is it small or large? Rough or smooth? Soft or hard? Slippery? Is there only one of them or many?
As a team or individually, have children sort their apple(s) into the appropriate boxes on the worksheet. Provide corrective feedback as necessary.
Once students have classified their apples into the correct components, ask students to present to the class one of the categories they learned about. Help them to indicate which parts of the apple helped them to know where that part belonged. This allows children the opportunity to practice verbal skills and core reasoning competencies.